SAVE SEEDS from your Garden for Next Year – HARVEST, CLEAN & STORE
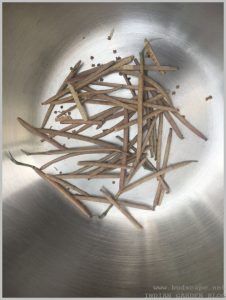
Seeds are life..Literally! Most people get a kick out of their morning chai/coffee. My morning high is going out in the garden to check which seeds have germinated. A few days ago I was cleaning up the winter left-overs ( you know what I mean) and thought of saving a few seeds for the next season. Most of my plants were lost this season since I traveled excessively and the mali (garden help) uprooted them before they could set seeds. Some did though, like hollyhock, calendula, stocks, petunias & geraniums.
If you are a beginner gardener, my way of harvesting seeds from annuals *might* help you do it a bit more easily & efficiently.
How to know if seeds are RIPE & ready to collect?
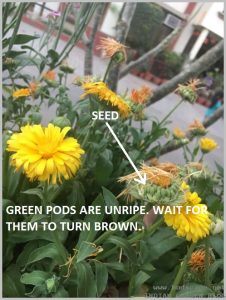
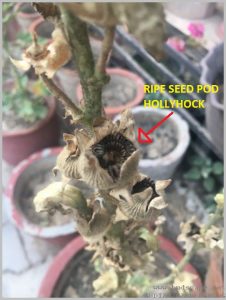
- After the season is almost over, let the blooms dry out completely. A seed pod forms out of a dried out flower.
- While watering, take care not to wet the developing seed pod. Every bloom has a different kind of seed pod.
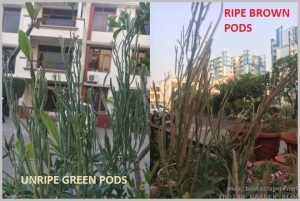
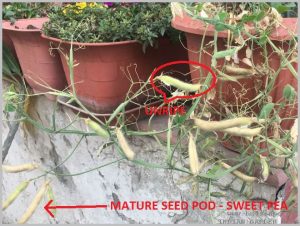
- Allow it to turn almost brown. Press or open slightly to check if seeds have formed.
- The seeds must not appear green or raw. Allow the pod to mature.
Easy Ways to Collect Seeds
METHOD 1
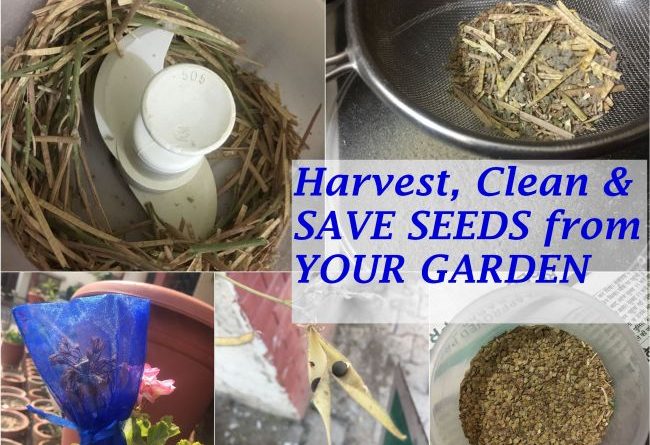
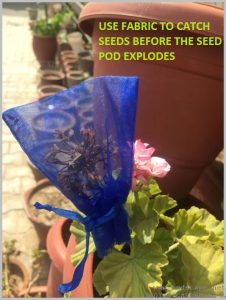
If you are very particular about not wasting any seeds at all, consider tying a light fabric over the seed pod so that even if it spills open, the seeds are collected. You may use a small mesh fabric pouch for this purpose. This is usually applicable when you want to collect special seeds like adeniums, gerbera etc which you cannot afford to lose.
METHOD 2
For regular annuals, even a single plant produces seeds in abundance, so do not worry about losing some. They will fall somewhere in your garden anyhow and come up next year on their own.
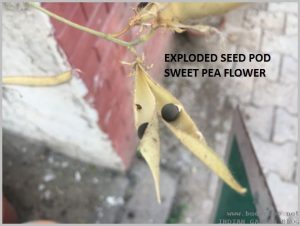
With some experience, you will learn to identify when a seed pod is ready to explode open. Keep an eye. Do not collect seed pods from infected parts, if any. Simply pick & collect seeds in a bowl. Allow them to dry out indoors for 2-3 days.
2 ways to Remove Husk from Seeds
METHOD 1
The best thing to do is to wear thin gloves (I’m saying this because I’ve had my hands covered in tiny thorns from hollyhock pods) and slightly crush the seed pods. This will separate the husk from the seeds.
METHOD 2
Some seed pods like stocks are hard and do not release all the seeds this way. For that, I have a *ahem* genius method.
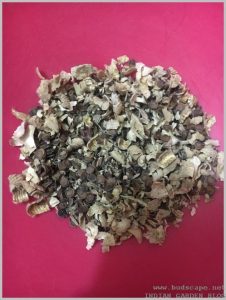
Put them in a mixie jar with a PLASTIC blade. I repeat, PLASTIC. We only want to separate the seeds, not turn them into chutney! The seed & husk will be easily separated. (see pic under next heading)
Clean & Store seeds for Next Year
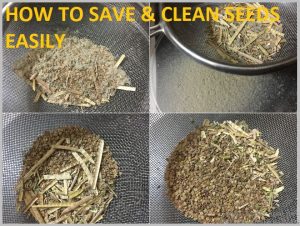
Now, you remove some of the husk by hand and keep the seeds as they are. Dried husk does no harm at all. Or, you may be a fanatic like me and want to clean up saved seeds a bit more. Let’s strain then!
This takes a bit of intelligence.
Are the seeds bigger or the residue? First, I am using a perforated mesh to separate the seeds & powder debris from the larger chunks.
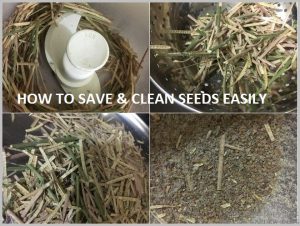
Second, I am using a fine strainer to remove the powdery residue from the seeds.
The little leftover residue is then removed by hand.
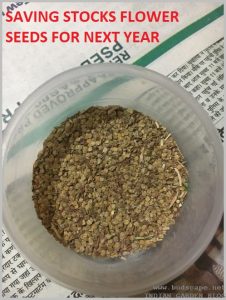
Keep them in an airtight container or a paper bag till the next season and you’re good to go!
TA-DA!!!
Save your seeds first, thank me later.
Saved seeds last year but having trouble identifying them? Here’s help. SEED IDENTIFICATION GUIDE FOR ANNUAL FLOWER SEEDS HERE & HERE.
Till then,
HAPPY GARDENING
JOIN OUR GARDENING COMMUNITY ON FB FOR MORE TIPS AND TRICKS!

![]() Subscribe in a reader
Subscribe in a reader
